|
Last modified: 2011-06-02
HDR ReLight: Creating a ProjectOverviewAn HDR ReLight project requires from two to six photos. The photos must share the same exposure values (shutter speed, aperture and ISO) and the same white balance. Each of the photos should show the same scene under a different illumination.
Creating the project is done in four steps:
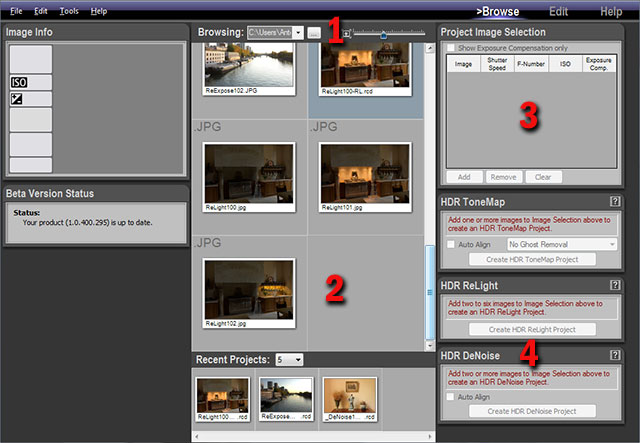
Step 1, locating the photosIn order to create a new HDR ReLight project, you have first to display the photos needed for the project in the Browse Workspace.
Selecting a folder and displaying the thumbnails:
The Browse Workspace now displays the photos contained in the folder you just selected.
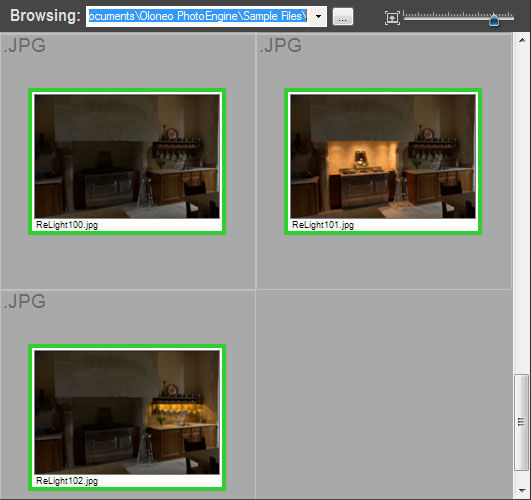
Step 2, selecting the photos
Selecting photos:
Or:
A green frame is displayed around the selected photos.
Step 3, adding the photos to the project selectionAdd the photos selected at the previous step to the Project Image Selection panel.
Adding photos to the Project Image Selection panel:
If the panel already contains photos from a previous project, you have first to clear the Project Image Selection list.
Removing all photos from the Project Image Selection panel:
Removing one photo from the Project Image Selection panel:
Now that you have added your photos in the Project Image Selection panel you are ready to create a HDR ReLight project.
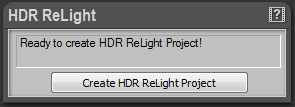
Step 4, creating a HDR ReLight projectAt this point, PhotoEngine can now create a HDR ReLight Project. The HDR ReLight panel should display: “Ready to create HDR ReLight Project!”
Creating the HDR ReLight project:
PhotoEngine automatically switches to the Edit Workspace and starts loading the photos. Read the next chapter to learn how to edit an HDR ReLight project.
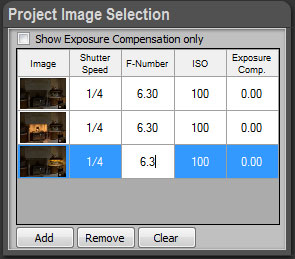
What to do when the HDR ReLight panel displays an error message? If your photos do not contain Exif data or have missing Exif data, the HDR ReLight Panel will display an information message such as: “Shutter speed values are required to build an HDR ReLight Project”.
When this happens you can enter the missing data by hand. The Project Image Selection panel works like a small spreadsheet. You can click in any cells to enter a missing value.
Manually setting the missing data:
|
|
| Copyright © 2025 Oloneo SAS |