Blankpix
  • Fr
  • En
Last modified: 2011-06-02

HDR ToneMap: Batch Processing

Overview

The Batch feature allows you to process a large number of photos in an automated way. With this feature you can do the following:

  • Process a large number of Raw photos in a fully automated way or with an interactive preview to fine tune the settings
  • Build a number of HDR images from a series of bracketed photos and apply Tone Mapping settings automatically


After processing, the Batch processing saves each image in the file format of your choice.


Batch creation

The first step is to create a new batch and edit its settings.


Creating a new Batch:

  • Select Batch... in the File menu.
  • If you have unsaved work, PhotoEngine will offer to save your photo
  • The Batch Dialog is displayed


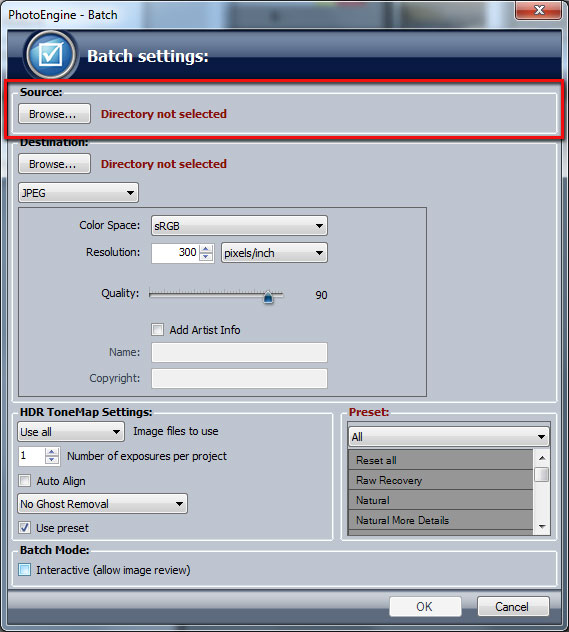
Batch creation, selecting the Source Directory:

  • Click the Browse... button located in the Source panel
  • Using the Directory Dialog, select the directory containing your photos
  • Click OK


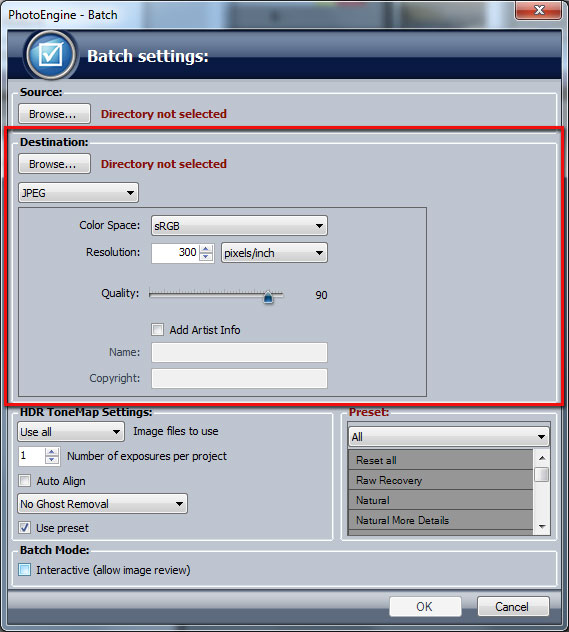
Batch creation, selecting the Destination Directory:

  • Click the Browse... button located in the Destination panel
  • Using the Directory Dialog, select the directory that will contain the processed photos
  • Click OK
  • Click on the Image Format menu to select the file format of the saved images (TIFF or JPEG)
  • Select the file format options


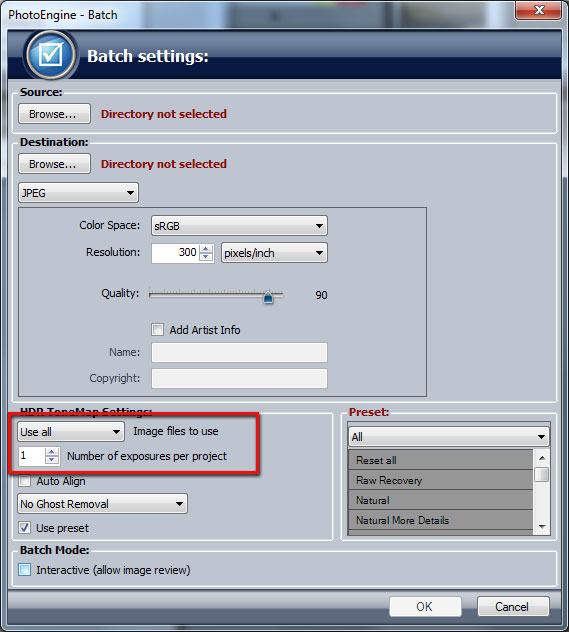
Batch creation, file selection:

  • Select the type of file to use in the menu located at the top of the HDR ToneMap panel
  • Set the number of exposures per project


Example:

Let’s say that your Source Directory contains a mix of Raw and JPEG files and that the photos are series of three images bracket sets. Select the following settings (assuming you want to use the Raw photos):

  • Image files to use: RAW
  • Number of exposures per project: 3


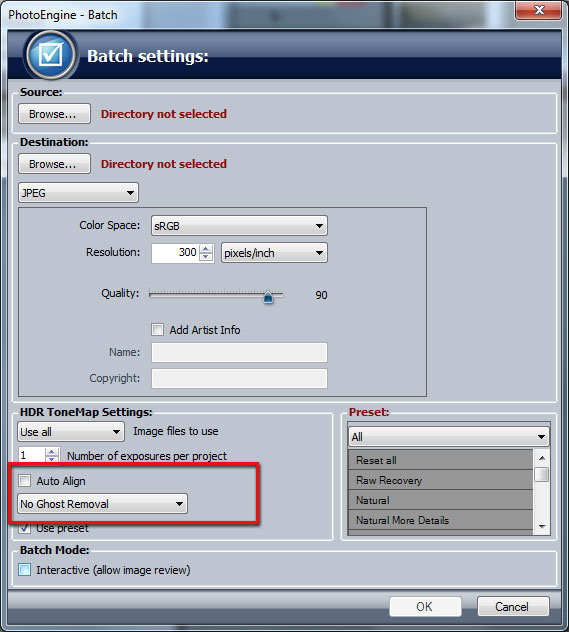
Batch creation, project settings:

  • Click the Auto-Align checkbox to enable Auto-Align
  • Select the Ghost Removal option


Read the HDR ToneMap: Creating a Project for more info.


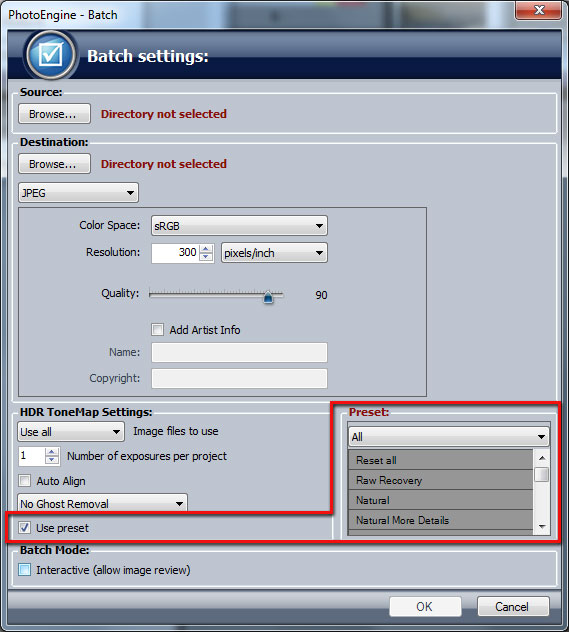
Batch creation, selecting a preset:

  • To use a preset, click the Use Preset checkbox located at the bottom of the HDR ToneMap panel 
  • Select the preset to use in the Preset list located at the right


Running the Batch

The PhotoEngine Batch offers two modes:

  • Fully automated mode
  • Interactive mode


In fully automated mode, PhotoEngine loads one image or a set of images, applies the settings, save the image and then moves to the next set of images. The cycle is repeated until all images in the source directory are processed.


In interactive mode, PhotoEngine waits before saving the photo to allow you to review the image settings before proceeding to the next one.
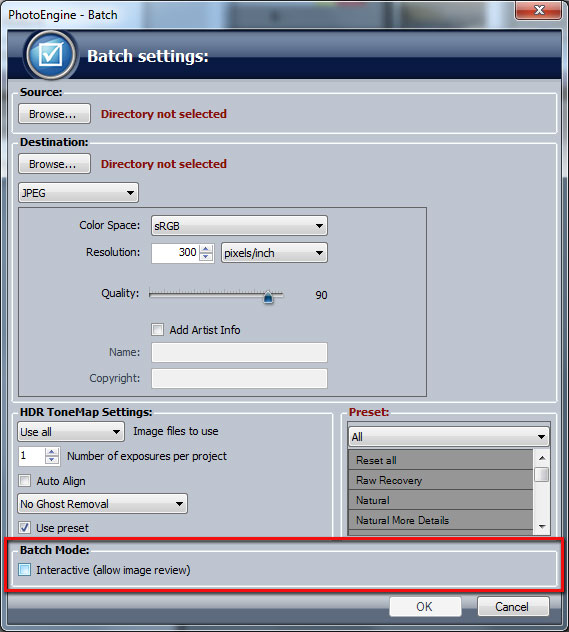
 

Selecting the mode:

  • Click on the Interactive checkbox located in the Batch Mode panel


Running the Batch:

  • Click the OK button to start the batch
  • The Batch dialog closes and the batch starts running


Fully automated mode:

The batch runs without interruption. You can cancel the processing by clicking the Cancel button that appears at the top of the Edit Workspace.


Interactive mode:

The Batch loads the first set of images, processes the project and waits for your input:

  • Click the Continue button to save the image and process the next one
  • Click the Skip button to proceed to the next image without saving the current one
  • Click the Cancel button to stop the batch without saving