PhotoEngine includes over 40 factory presets. Use this preset library to quickly modify all the settings of an image. The Preset panel is located at the bottom left corner of the screen.
Using presets is also a good way to learn how to use PhotoEngine. Apply a preset and then look at the various image settings.
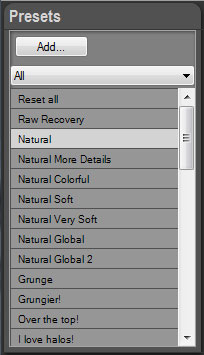
The Preset panel allows you to:
- Preview a preset
- Apply a preset
- Add a new preset
- Delete a preset
- Edit a preset
- Sort presets
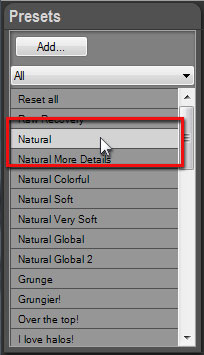
Previewing a preset:
- Move the mouse pointer without clicking over any preset located in the Preset panel
- PhotoEngine immediately updates the image with the preset settings
- Move the pointer away to restore the current settings
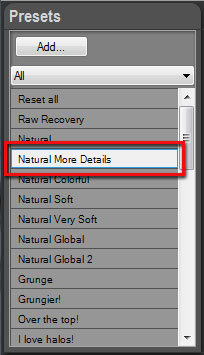
Applying a preset:
- Click on a preset located in the Preset panel
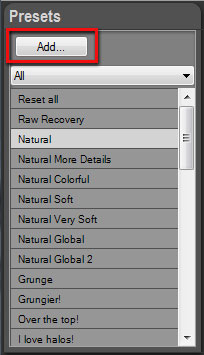
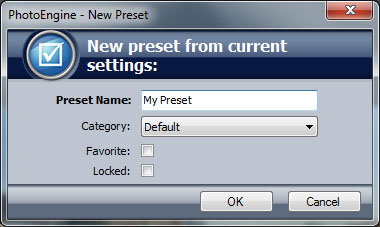
Adding a new preset:
- Click on the Add button located at the top of Preset panel
- The New Preset dialog opens
- Enter the Preset Name
- Select the Category
- Click the Favorite checkbox to add the preset to your Favorite list
- Click the Locked checkbox to protect the preset against deletion
- Click the OK button to create and save the preset
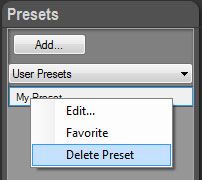
Deleting and editing a preset:
- Right-click on a preset located in the Preset panel
- To delete, select Delete Preset in the menu
- To edit, select Edit... in the menu
- To add/remove from favorites, select Favorite in the menu
Comment:
You cannot delete locked presets. To delete, first select Edit..., uncheck the Locked checkbox, click OK; then select Delete.
Sorting presets:
- Click on the Category Menu located at the top of the Preset panel
- Select a category
- Select the All category to show all presets
- Select the User Presets category to show you own presets
- Select the Favorite category to show your favorite presets
Previous Next


