Overview
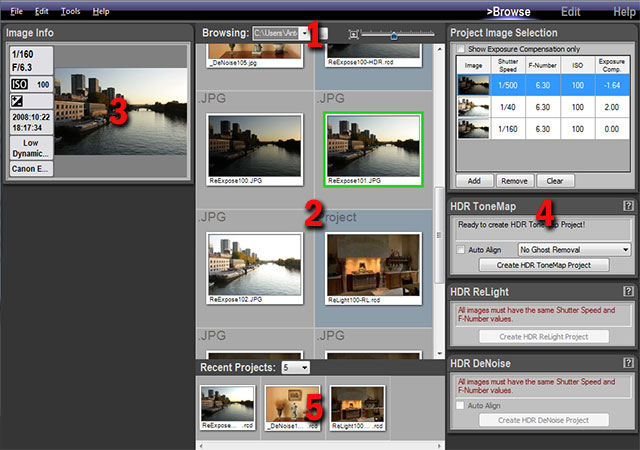
The Browse Workspace is where you display your photos and create new projects.
There are five main areas in the Browse Workspace:
- 1: Browsing toolbar where you select the directory to be displayed
- 2: Photo thumbnails of the currently displayed directory
- 3: Image Info panel showing the currently selected photo
- 4: Project creation panels
- 5: Recent Projects toolbar and panel
The Browsing toolbar
The Browsing toolbar allows you to select the folder displayed by PhotoEngine and to set the size of thumbnails.
There are multiple ways to select an image folder:
- Direct selection using the system File or Folder Dialog
- Selecting a recently browsed folder
- Typing the path of the folder

Selecting a folder:
- Click on the “…” button
- Using the system File Dialog navigate to a folder containing image files
- Select a file then click the Open button
- PhotoEngine starts displaying the thumbnails

Selecting a folder using the menu:
- Click on the Down Arrow button
- Click on Browse (Using File Dialog) ...
- Or, click on Browse (Using Folder Dialog) ...
- Using the File or Folder Dialog, navigate to your image folder
- Close the dialog
- PhotoEngine starts displaying the thumbnails

Selecting a recent folder using the menu:
- Click on the Down Arrow button
- Select one of the listed folders
- PhotoEngine starts displaying the thumbnails

Editing the folder path:
- Click in the address bar
- Type or cut and paste the path to your folder
- Press the Return or Enter key to validate
- PhotoEngine starts displaying the thumbnails

Setting the thumbnail size:
- Click and drag the slider located at the right of the Browsing toolbar

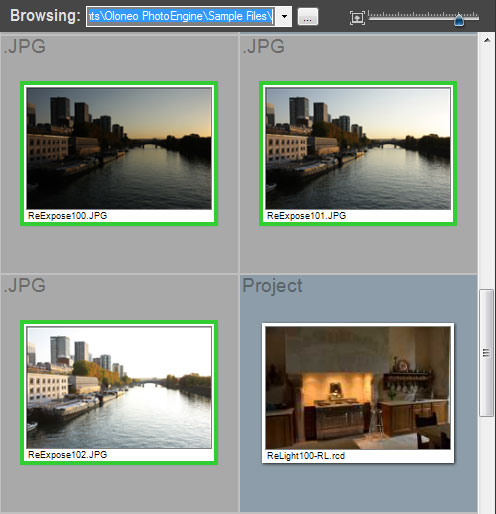
The Thumbnail list
After selecting a folder, PhotoEngine displays the photos and project files contained in the folder. There are two file categories:
- PhotoEngine Project files, displayed on a blue background
- Image files, displayed on a gray background with the file extension displayed at the top left corner
Opening a project file:
- Double click on the Project file thumbnail
- PhotoEngine switches to the Edit Workspace and load the project
Opening a Single JPEG, TIFF, Radiance or Raw file:
- Double click on the file thumbnail
- PhotoEngine switches to the Edit Workspace and load the image
Selecting several image files:
- Scroll the thumbnail list until you see the set of photos you want to use
- Click on the first photo in the set
- Shift-Click on the last photo in the set
Or:
- Scroll the thumbnail list until you see the set of photos you want to use
- Control-Click on each photo
A green frame is displayed around the selected photos. You can create a new project after selecting the images. Read the following chapters to learn how to create an HDR ToneMap, HDR ReLight or HDR DeNoise project from the selected images.
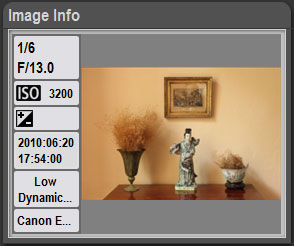
The Image Info panel
The Image Info panel displays key Exif data of the selected photo.
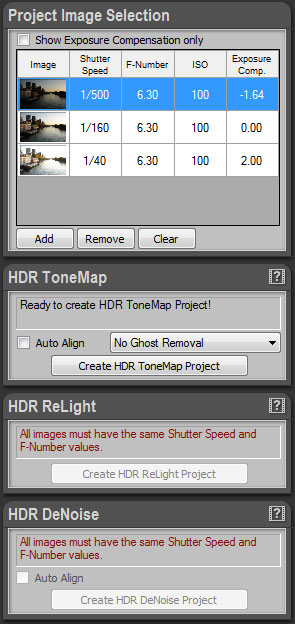
The project creation panels
Several panels located at the right of the screen allow you to create new PhotoEngine projects. Read the following chapters to learn how to create an HDR ToneMap, HDR ReLight or HDR DeNoise project.
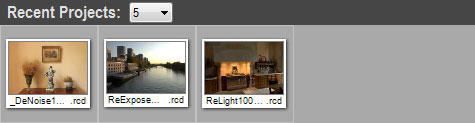
The Recent Projects panel
All the projects that you create or edit are automatically added to the Recent Projects panel located at the bottom of the screen. This panel allows you to quickly open and edit a recent project without having to locate the folder where the project file is stored.
Opening a recent project file:
- Double click on a project thumbnail located in the Recent Projects panel
- PhotoEngine switches to the Edit Workspace and load the project
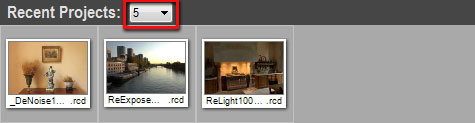
Setting the number of displayed files:
- Click on the menu located at the top left of the Recent Projects panel
- Select the number of files to be displayed
Previous Next


