|
Last modified: 2011-06-02
User Interface Main ControlsOverviewPhotoEngine uses several User Interface Controls that are important to master. These main controls appear in many places in the user interface. The main controls are:
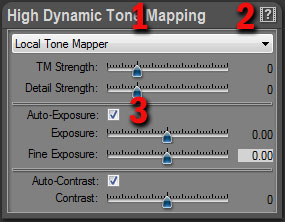
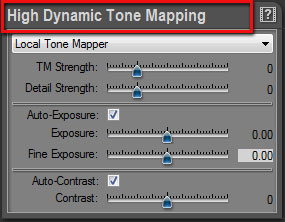
The Setting PanelThe Setting Panel is a box that groups related settings. Panels have three main areas:
You can hide and reveal the contents of a Setting Panel.
Hiding the contents:
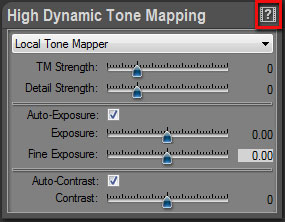
Getting help:
The SliderThe slider allows you to edit a setting using the mouse pointer, the keyboard or by entering a value.
Dragging the cursor:
Dragging the cursor with high accuracy:
Moving the cursor with the keyboard:
Entering a value:
Resetting a slider to default value:
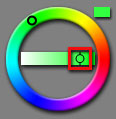
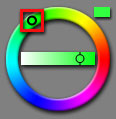
The Color WheelThe slider allows you to quickly select the tint and saturation of a color. There are three parts in the color wheel:
Setting the color saturation:
Setting the tint:
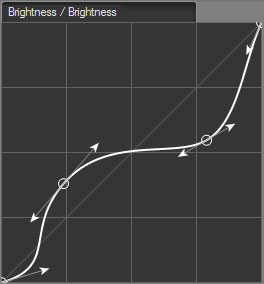
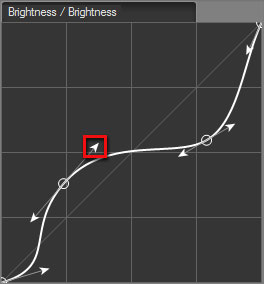
The Curve EditorPhotoEngine uses a sophisticated curve editor for high accuracy image editing.
Adding a point:
You can add up to ten points to a curve.
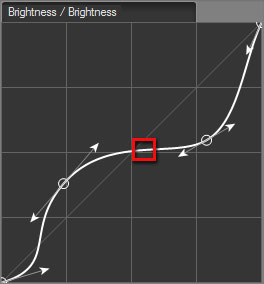
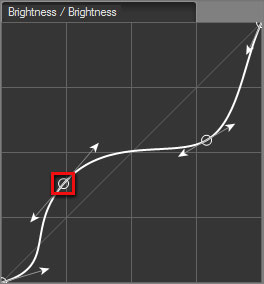
Deleting a point:
Or:
Editing the curvature:
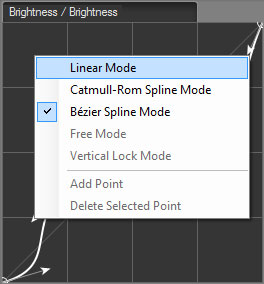
Changing the curve mode:
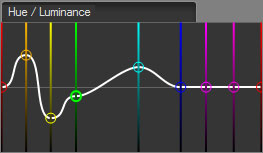
The Color Curve EditorThe Color Curve Editor is similar to the Curve Editor. By default, the curve points can only slide along the vertical axis.
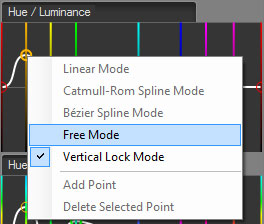
Changing how points move:
|
|
| Copyright © 2025 Oloneo SAS |