|
Last modified: 2011-06-02
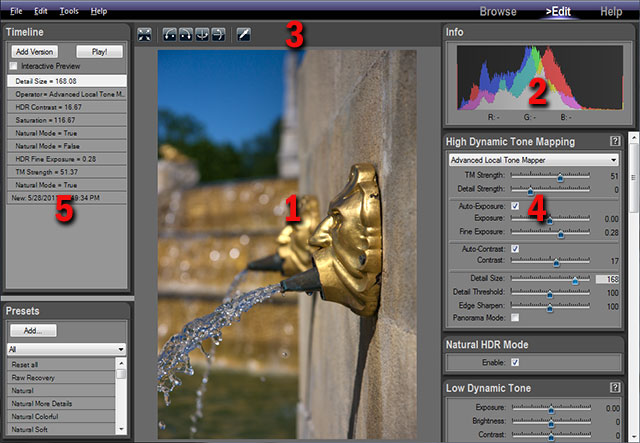
The Edit WorkspaceOverviewThe Edit Workspace is where you edit your photos and projects.
There are five main areas in the Browse Workspace:
The edited imageThe displayed image is not just a preview. This is the final image with all the settings applied. PhotoEngine has the unique capability of displaying in real time all your changes including Tone Mapping.
Seeing the image at full resolution:
Panning the image at full resolution:
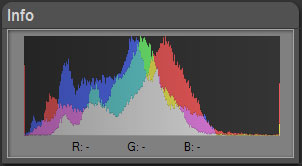
The Info panelThe Info panel displays the image histogram and the RGB values of the pixel currently under the mouse pointer. The histogram is updated in real time and is always up to date.
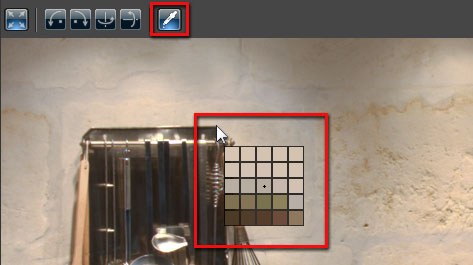
The Image toolbarThe Image toolbar is located at the top of the image. It allows you to zoom, rotate, flip the image and set the white balance.
Seeing the image at full resolution:
Rotating the image:
Flipping the image:
Using the white balance tool:
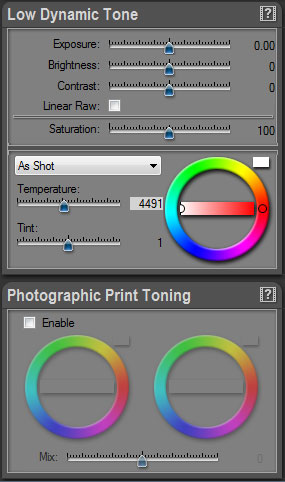
The image setting panelsThe panels located at the right allow you to edit the image settings. The available settings depend on the type of project you are working on. Read the following chapters to learn how to edit an HDR ToneMap, HDR ReLight or HDR DeNoise project.
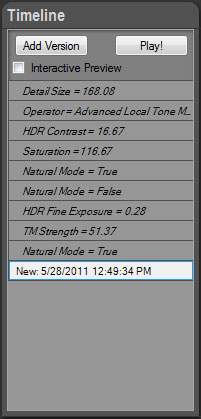
The Timeline panelEverything you do is automatically recorded in the Timeline panel located at the left of the screen. You can click on a Timeline level to go back in time and see the image at a previous step of the edition process. Read the following chapters to learn how to use the timeline with an HDR ToneMap, HDR ReLight or HDR DeNoise project.
|
|
| Copyright © 2025 Oloneo SAS |