|
Last modified: 2011-06-02
HDR ToneMap : Auto Tone MapperOverviewThe Auto Tone Mapper works in an entirely automated way. Use it if you are new to HDR and Tone Mapping. With only one setting to play with, it is fun and easy to use. When you have gained more experience, you can switch to the Local Tone Mapper which gives more control.
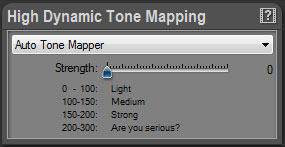
The Auto Tone Mapper settings are displayed in the High Dynamic Tone Mapping panel when Auto Tone Mapper is selected in the menu located at the top.
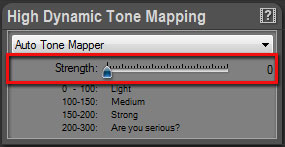
Using the Auto Tone MapperThe Auto Tone Mapper is easy to use. Simply drag the Strength slider and watch the image change in real time.
Editing the Tone mapping setting:
Strength value range:
|
|
| Copyright © 2025 Oloneo SAS |