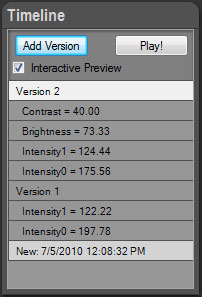
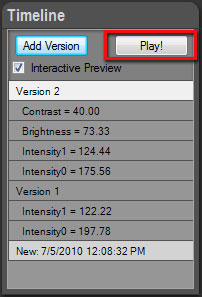
As with all PhotoEngine projects, everything you do is automatically recorded in the Timeline panel located at the left of the screen. You can click on a Timeline level to go back in time and see the image at a previous step of the edition process.
The Timeline is saved in the PhotoEngine project files (.rcd). Your changes are never lost. By reloading the project file later on, you will recover all your edition history.
Selecting a previous level in the Timeline:
- The latest change is displayed at the top of the Timeline list
- The original image is displayed at the bottom of the list
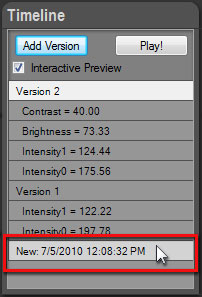
- Click anywhere in the list to restart from a previous step. All steps above the selected level will be deleted at the next change (in case of a mistake, this can be undone by pressing Control-Z)
- To restart from scratch, select the first level at the bottom
It is worth spending a bit of time mastering the Timeline! The Timeline can greatly increase your productivity later on.
PhotoEngine also works as a regular application with undo/redo:
- Press Control-Z or use the Edit > Undo menu to undo a change
- Press Control-Y or use the Edit > Redo menu to redo
- To undo several changes press Control-Z several times
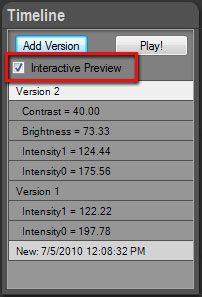
Comparing images with the Timeline:
- Check the Interactive Preview checkbox located at the top of the Timeline panel
- Move the mouse pointer without clicking over any Timeline levels
- PhotoEngine immediately update the image with the previous settings
- By moving the mouse pointer up and down along the Timeline panel you can visually compare different image settings
- By moving the mouse pointer inside and outside of the Timeline panel you can visually compare the current settings with a previous one, including the original picture (last line at the bottom of the Timeline)
Adding a version:
- Click on a level in the Timeline list to select it
- Click the Add Version button located at the top of the Timeline panel
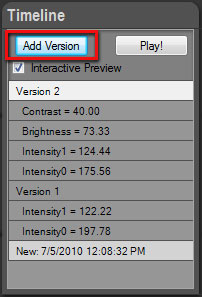
This feature is especially useful for HDR ReLight projects. Use it to record different light setups for a given photo.
Re-playing the Timeline:
- Click the Play! button located at the top of the Timeline panel
- Press the Escape key to stop the animation
You have worked hard on that project! Enjoy seeing all you changes in one short animation.
Previous Next


